September 16, 2026
September 16, 2026
Build a Product Ad Shot List for AI Video
Plan four focused AI video clips with clear references, motion instructions, and human review decisions.
Plan four focused AI video clips with clear references, motion instructions, and human review decisions.
Build a four-shot AI product ad plan that keeps each clip focused, reviewable, and easier for ecommerce creative teams to assemble.
Build your product ad as four separately planned clips: establish the product, show one benefit, reveal a useful detail, and finish on a clean product frame. Give every shot one purpose, one approved reference, one motion instruction, and one human review goal before generating anything.
This is Kubflow’s suggested production method, not a requirement from a video model. It helps your team reject a weak clip without discarding an entire sequence.
Prepare the brief and product references first
Start with one product benefit that can be communicated visually. Avoid combining several claims, use cases, or settings in the same short sequence.
For example, “an insulated bottle makes a cold drink feel refreshing” is a workable visual concept. “Keeps drinks cold for 24 hours” would be a measurable claim that needs evidence outside the generation workflow.
Prepare these inputs before writing the shot list:
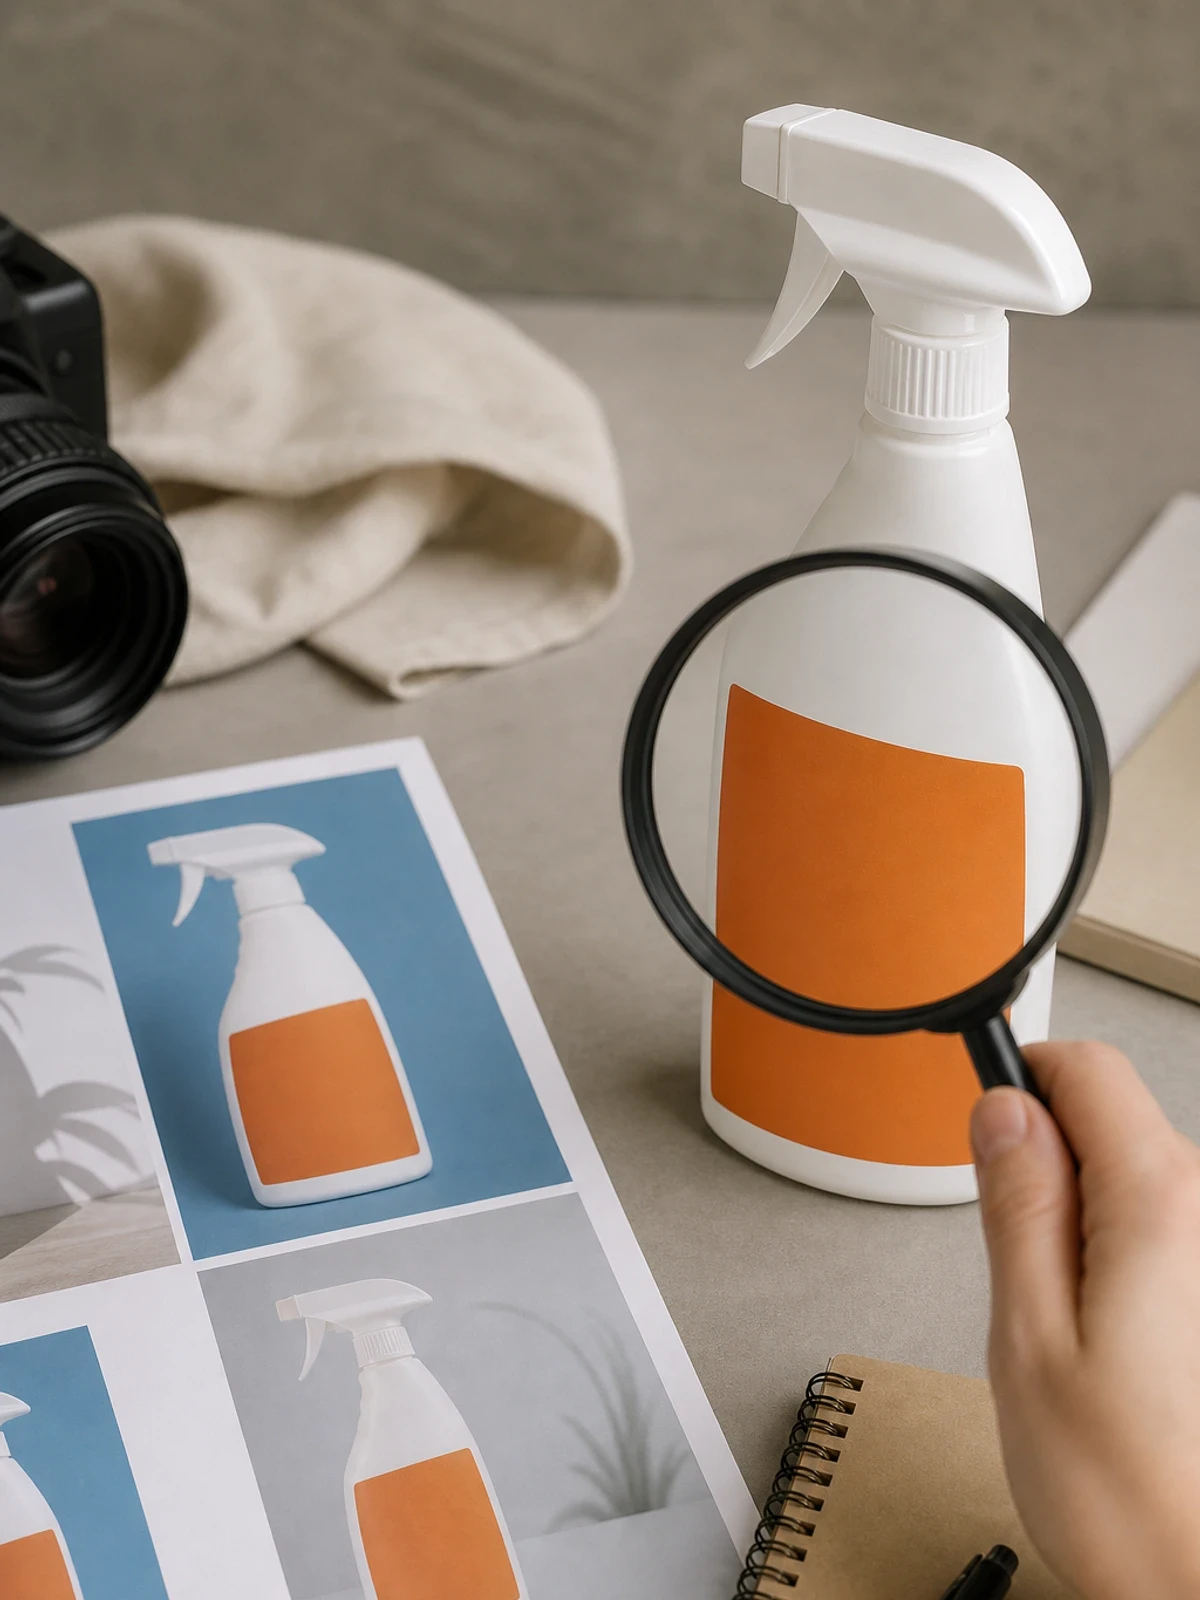
One approved product reference: Use a clear image with the correct silhouette, colors, cap, label position, and materials.
Detail references: Add close-ups for any mechanism or packaging detail that must appear.
Target framing: Decide whether the finished ad is vertical, square, or landscape.
Benefit statement: Write one sentence describing what viewers should understand.
Review owner: Assign a person who can approve product accuracy and usable framing.
Keep filenames descriptive so reviewers know which source belongs to each shot. If you need help preparing the broader generation flow, see this image-to-video workflow for product launches.
Use this product ad shot list for AI video
The following four-shot structure is a reusable planning tool. The durations should be chosen after checking the current model’s official instructions and your channel requirements. Do not assume every model accepts the same reference types, dimensions, or clip lengths.
Shot | Purpose | Reference input | Motion instruction | Human review goal |
|---|---|---|---|---|
1. Establish | Identify the product and setting | Approved hero image | One simple camera or lighting move | Product is recognizable and composition is usable |
2. Benefit cue | Visualize one benefit | Same product plus relevant setup | One physical interaction | Benefit is clear without an unsupported claim |
3. Detail | Show a mechanism or material | Approved close-up | Minimal macro movement | Label, materials, and geometry are acceptable |
4. Resolve | Create a reusable ending | Approved hero or end-frame image | Settle into a clean hold | Product is stable and space remains for copy |
“One purpose” is the key constraint. If a shot must introduce the product, demonstrate a feature, move the camera, transform the setting, and end on a title card, it contains too many opportunities for failure.
Plan each clip in four numbered steps
Define the viewer takeaway. Write what the shot must communicate, not just what should appear. “Show the bottle” is vague. “Make the bottle immediately identifiable” gives the reviewer a decision.
Attach the most useful reference. Reuse the same approved product image where possible. Add a dedicated close-up when the shot depends on a cap, texture, seam, applicator, or other fine detail.
Request one motion. Choose a slow camera push, one hand interaction, a single product rotation, or a subtle lighting change. Keep secondary objects controlled.
Write accept and reject conditions. Decide what would make the clip unusable before generation. Include label changes, warped packaging, implausible contact, unwanted cropping, and missing copy space.
This separation also improves review notes. Instead of saying “the ad feels wrong,” a reviewer can say “reject shot two because the hand intersects the bottle and the label changes during the pour.”
Illustrative four-shot brief for an insulated bottle
Illustrative example: This concept shows an insulated bottle making a cold drink feel refreshing. It is not a tested customer case or a measured temperature claim.
Example input files:
bottle-hero-front-9x16.png: Full closed bottle with a readable front label, centered on a neutral surface with vertical negative space.
bottle-pour-detail-9x16.png: The same bottle and label in a three-quarter close-up beside a clear glass containing ice.
bottle-cap-macro-9x16.png: Close view of the same cap, bottle neck, finish, and label edge.
Shot 1 prompt: “Use bottle-hero-front-9x16.png as the product reference. Keep the bottle stationary and upright. Make one slow camera push toward it while condensation catches soft side light. Preserve the silhouette, cap shape, label position, surface, and vertical composition. No extra objects or text.”
Shot 2 prompt: “Use bottle-pour-detail-9x16.png as the reference. A hand enters once, tilts the bottle, and pours liquid into the ice-filled glass. Keep the bottle design and label unchanged. Use a stable three-quarter framing. No camera orbit or scene transition.”
Shot 3 prompt: “Use bottle-cap-macro-9x16.png as the reference. Keep the camera nearly locked while the cap turns open once. Preserve the cap shape, threads, finish, bottle neck, and visible label edge. Use minimal background movement.”
Shot 4 prompt: “Use bottle-hero-front-9x16.png as the reference. The bottle settles upright as condensation moves subtly. End on a clean, stable hold with open space above the product for copy added during editing. Do not generate text.”
Concrete decision: Reject shot two if the hand intersects the bottle, the liquid behaves implausibly, or the label changes. Accept shot four only if the product geometry remains stable and the final frame leaves usable copy space.
Check model instructions before generation
Reference handling and framing vary by model. In the official Runware documentation for Wan 3.0, the documented API accepts either first and last frame images or general reference images, but those modes cannot be combined in one request. It documents durations from 2 to 30 whole seconds or automatic duration, plus several landscape, portrait, and square framing options.
The related Wan 3.0 image-input guide says a first-frame image supplies the opening composition and warns that framing, reflections, or textures can drift. These facts describe that model’s documented API behavior. They do not establish that Kubflow exposes every parameter or that any model will preserve a product perfectly.
Before generating, verify:
How many reference or keyframe images the selected model accepts
Whether reference modes can be combined
Supported clip durations and aspect ratios
Whether an input image determines the output framing
Current restrictions for dimensions, formats, and resolution
Review continuity and framing before editing
Watch each output at normal speed, frame by frame, and beside the approved product still. A pleasing clip can still be unusable if the packaging changes.
One purpose per shot: Can a reviewer state the shot’s job in one sentence?
Product continuity: Check silhouette, color, label location, closures, materials, and relative proportions.
Usable framing: Confirm the intended crop, safe product placement, and space for copy added later.
Physical plausibility: Inspect hands, pouring, shadows, reflections, contact points, and moving parts.
Clean handoff: Confirm the opening and ending frames can connect to adjacent clips.
Common failure cases include asking for multiple actions, using inconsistent references, trusting generated lettering, and approving an attractive shot with no room for the final layout. Rerun the affected clip with simpler motion or a stronger reference rather than expanding an already crowded prompt.
Where Kubflow fits in the process
Kubflow connects text, image, video, and audio models on a visual workflow canvas. Your team can supply product references, connect prompt and generation steps, and rerun the workflow for individual shots. Human review remains necessary because label fidelity, continuity, and accuracy are not guaranteed.
Build the four shots as separate branches, keep their references and review goals beside each generation step, and advance only approved clips. When your shot list is ready, try the process in Kubflow.


Build a four-shot AI product ad plan that keeps each clip focused, reviewable, and easier for ecommerce creative teams to assemble.
Build your product ad as four separately planned clips: establish the product, show one benefit, reveal a useful detail, and finish on a clean product frame. Give every shot one purpose, one approved reference, one motion instruction, and one human review goal before generating anything.
This is Kubflow’s suggested production method, not a requirement from a video model. It helps your team reject a weak clip without discarding an entire sequence.
Prepare the brief and product references first
Start with one product benefit that can be communicated visually. Avoid combining several claims, use cases, or settings in the same short sequence.
For example, “an insulated bottle makes a cold drink feel refreshing” is a workable visual concept. “Keeps drinks cold for 24 hours” would be a measurable claim that needs evidence outside the generation workflow.
Prepare these inputs before writing the shot list:
One approved product reference: Use a clear image with the correct silhouette, colors, cap, label position, and materials.
Detail references: Add close-ups for any mechanism or packaging detail that must appear.
Target framing: Decide whether the finished ad is vertical, square, or landscape.
Benefit statement: Write one sentence describing what viewers should understand.
Review owner: Assign a person who can approve product accuracy and usable framing.
Keep filenames descriptive so reviewers know which source belongs to each shot. If you need help preparing the broader generation flow, see this image-to-video workflow for product launches.
Use this product ad shot list for AI video
The following four-shot structure is a reusable planning tool. The durations should be chosen after checking the current model’s official instructions and your channel requirements. Do not assume every model accepts the same reference types, dimensions, or clip lengths.
Shot | Purpose | Reference input | Motion instruction | Human review goal |
|---|---|---|---|---|
1. Establish | Identify the product and setting | Approved hero image | One simple camera or lighting move | Product is recognizable and composition is usable |
2. Benefit cue | Visualize one benefit | Same product plus relevant setup | One physical interaction | Benefit is clear without an unsupported claim |
3. Detail | Show a mechanism or material | Approved close-up | Minimal macro movement | Label, materials, and geometry are acceptable |
4. Resolve | Create a reusable ending | Approved hero or end-frame image | Settle into a clean hold | Product is stable and space remains for copy |
“One purpose” is the key constraint. If a shot must introduce the product, demonstrate a feature, move the camera, transform the setting, and end on a title card, it contains too many opportunities for failure.
Plan each clip in four numbered steps
Define the viewer takeaway. Write what the shot must communicate, not just what should appear. “Show the bottle” is vague. “Make the bottle immediately identifiable” gives the reviewer a decision.
Attach the most useful reference. Reuse the same approved product image where possible. Add a dedicated close-up when the shot depends on a cap, texture, seam, applicator, or other fine detail.
Request one motion. Choose a slow camera push, one hand interaction, a single product rotation, or a subtle lighting change. Keep secondary objects controlled.
Write accept and reject conditions. Decide what would make the clip unusable before generation. Include label changes, warped packaging, implausible contact, unwanted cropping, and missing copy space.
This separation also improves review notes. Instead of saying “the ad feels wrong,” a reviewer can say “reject shot two because the hand intersects the bottle and the label changes during the pour.”
Illustrative four-shot brief for an insulated bottle
Illustrative example: This concept shows an insulated bottle making a cold drink feel refreshing. It is not a tested customer case or a measured temperature claim.
Example input files:
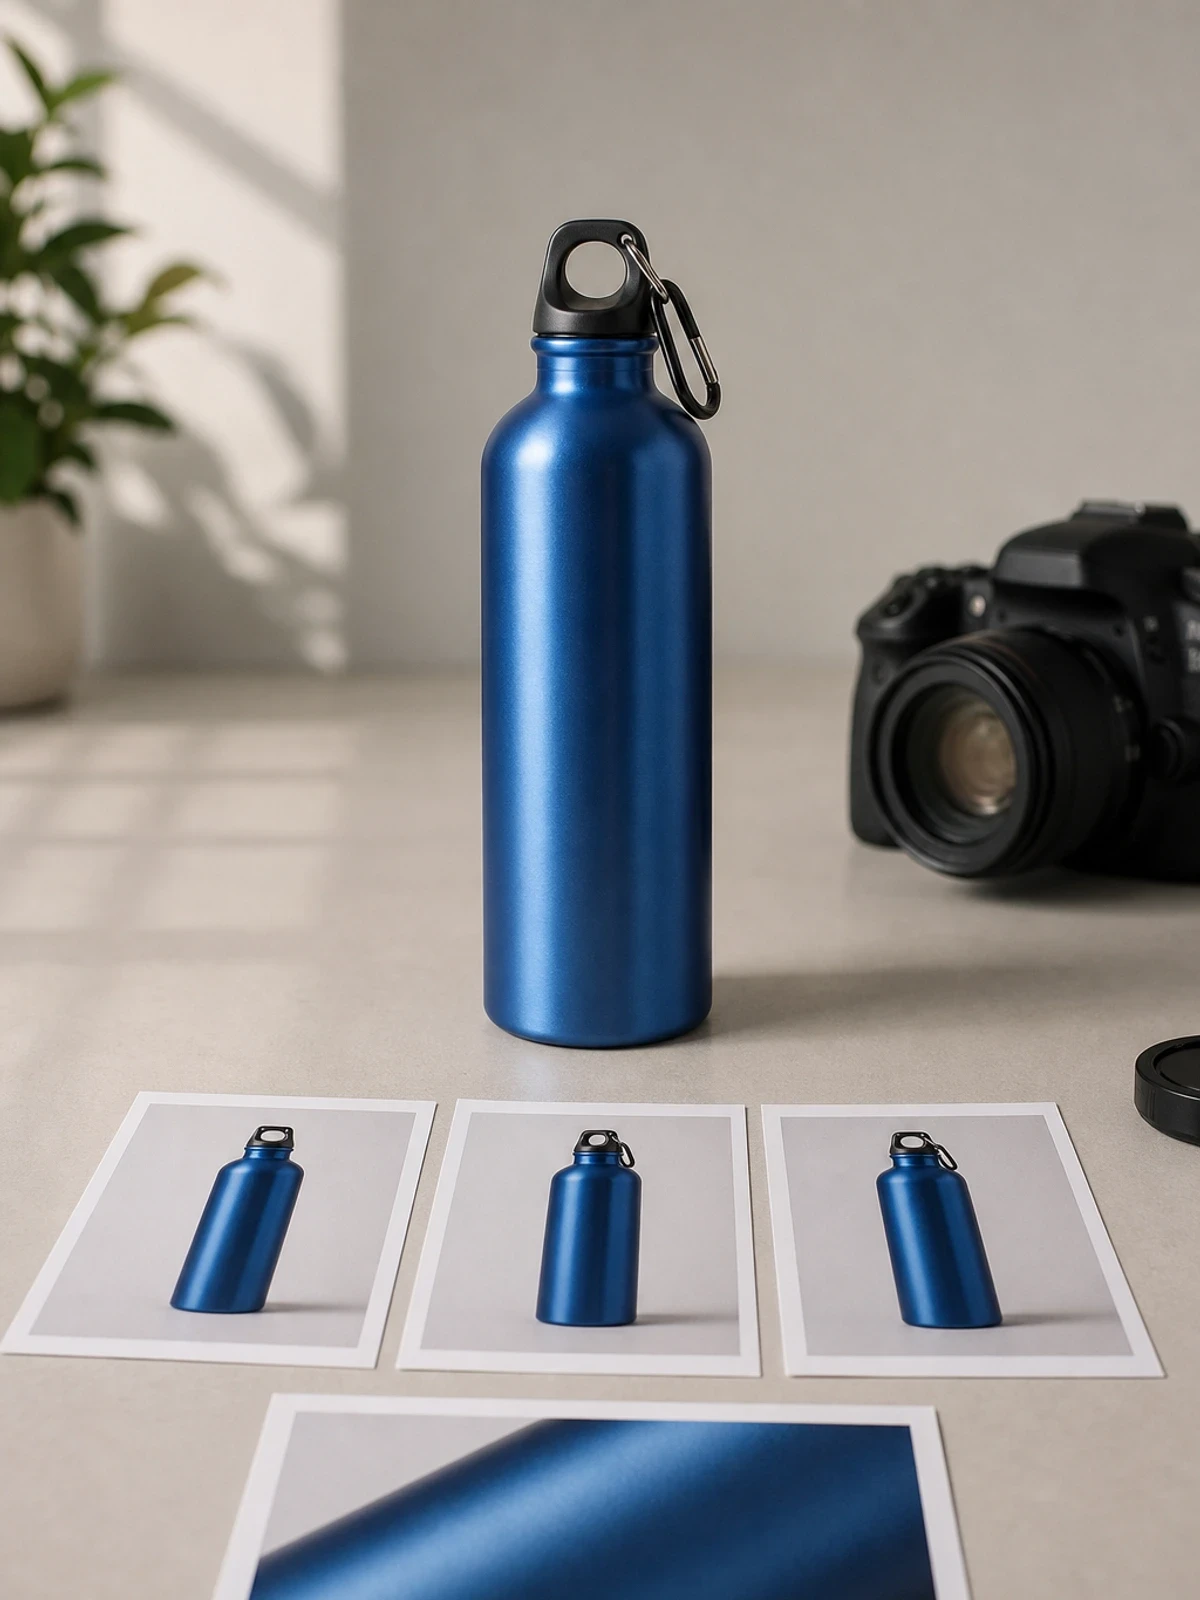
bottle-hero-front-9x16.png: Full closed bottle with a readable front label, centered on a neutral surface with vertical negative space.
bottle-pour-detail-9x16.png: The same bottle and label in a three-quarter close-up beside a clear glass containing ice.
bottle-cap-macro-9x16.png: Close view of the same cap, bottle neck, finish, and label edge.
Shot 1 prompt: “Use bottle-hero-front-9x16.png as the product reference. Keep the bottle stationary and upright. Make one slow camera push toward it while condensation catches soft side light. Preserve the silhouette, cap shape, label position, surface, and vertical composition. No extra objects or text.”
Shot 2 prompt: “Use bottle-pour-detail-9x16.png as the reference. A hand enters once, tilts the bottle, and pours liquid into the ice-filled glass. Keep the bottle design and label unchanged. Use a stable three-quarter framing. No camera orbit or scene transition.”
Shot 3 prompt: “Use bottle-cap-macro-9x16.png as the reference. Keep the camera nearly locked while the cap turns open once. Preserve the cap shape, threads, finish, bottle neck, and visible label edge. Use minimal background movement.”
Shot 4 prompt: “Use bottle-hero-front-9x16.png as the reference. The bottle settles upright as condensation moves subtly. End on a clean, stable hold with open space above the product for copy added during editing. Do not generate text.”
Concrete decision: Reject shot two if the hand intersects the bottle, the liquid behaves implausibly, or the label changes. Accept shot four only if the product geometry remains stable and the final frame leaves usable copy space.
Check model instructions before generation
Reference handling and framing vary by model. In the official Runware documentation for Wan 3.0, the documented API accepts either first and last frame images or general reference images, but those modes cannot be combined in one request. It documents durations from 2 to 30 whole seconds or automatic duration, plus several landscape, portrait, and square framing options.
The related Wan 3.0 image-input guide says a first-frame image supplies the opening composition and warns that framing, reflections, or textures can drift. These facts describe that model’s documented API behavior. They do not establish that Kubflow exposes every parameter or that any model will preserve a product perfectly.
Before generating, verify:
How many reference or keyframe images the selected model accepts
Whether reference modes can be combined
Supported clip durations and aspect ratios
Whether an input image determines the output framing
Current restrictions for dimensions, formats, and resolution
Review continuity and framing before editing
Watch each output at normal speed, frame by frame, and beside the approved product still. A pleasing clip can still be unusable if the packaging changes.
One purpose per shot: Can a reviewer state the shot’s job in one sentence?
Product continuity: Check silhouette, color, label location, closures, materials, and relative proportions.
Usable framing: Confirm the intended crop, safe product placement, and space for copy added later.
Physical plausibility: Inspect hands, pouring, shadows, reflections, contact points, and moving parts.
Clean handoff: Confirm the opening and ending frames can connect to adjacent clips.
Common failure cases include asking for multiple actions, using inconsistent references, trusting generated lettering, and approving an attractive shot with no room for the final layout. Rerun the affected clip with simpler motion or a stronger reference rather than expanding an already crowded prompt.
Where Kubflow fits in the process
Kubflow connects text, image, video, and audio models on a visual workflow canvas. Your team can supply product references, connect prompt and generation steps, and rerun the workflow for individual shots. Human review remains necessary because label fidelity, continuity, and accuracy are not guaranteed.
Build the four shots as separate branches, keep their references and review goals beside each generation step, and advance only approved clips. When your shot list is ready, try the process in Kubflow.