September 14, 2026
September 14, 2026
How to Prepare Product Reference Photos for AI
Select clear product views, document essential details, and review AI outputs against a reusable reference sheet.
Select clear product views, document essential details, and review AI outputs against a reusable reference sheet.
Learn how ecommerce teams can select product reference photos, write a precise input brief, and review AI-generated creative for errors.
To prepare product reference photos for AI, choose a small set of unobstructed views that collectively show the product’s shape, components, colors, labels, and important details. Pair those images with a written brief that states what must remain accurate, then require a human to compare every generated output with the approved source material.
A technically accepted file is not necessarily a useful reference. Your goal is to remove ambiguity before an image or video generation step begins.
Check the model’s documented input rules first
Before selecting photos, identify the exact model and endpoint your workflow will use. Check its official documentation for supported formats, file-size limits, image-count limits, dimensions, and any endpoint-specific restrictions.
OpenAI's image generation guide describes reference-image editing and warns that precise text and recurring brand elements can lose consistency. A reference image helps specify the product; it does not guarantee accurate packaging or label copy.
Keep provider documentation beside your input brief, but apply the limits for the exact generation step you selected. OpenAI's image inputs guide covers image analysis; its file requirements should not be assumed to apply to image editing.
For the hypothetical Aurora example below, use OpenAI’s gpt-image-2.5-sunburst editing capability as a provider example. The image-editing reference lists this model and accepts up to 16 reference images supplied through uploaded file IDs, image URLs, or base64 data URLs. The four-photo selection below fits that documented image-count limit. The retrieved endpoint reference does not establish a complete input file-format and byte-size specification; verify those requirements before uploading. These provider capabilities do not establish which controls or models your Kubflow account exposes.
How to prepare product reference photos for AI
Start with a clean front view. Show the complete product straight on, with no hands, props, leaves, packaging, or shadows covering important areas.
Add an angle that explains depth. A left or right 45-degree view often clarifies the side profile, thickness, cap shape, seams, and construction.
Add a rear view only when it matters. Include it if the back has a label, closure, port, pattern, seam, or other feature likely to appear in the requested scene.
Photograph critical details separately. Use a close view for embossing, textures, unusual closures, hardware, stitching, or small marks that cannot be judged in the full-product image.
Remove weak and conflicting references. Reject blurry, heavily compressed, dark, cluttered, cropped, color-shifted, or outdated photos. Do not mix old and current packaging without explaining the difference.
Clear, well-lit references with good contrast are a sensible starting point. Runware specifically recommends those qualities in its documented IP-Adapter workflow and warns that dark, noisy, or cluttered images provide weaker conditioning. That guidance does not establish how OpenAI’s model behaves, but it supports a useful general production habit.
Use a reference-photo selection sheet
The following sheet is Kubflow’s suggested practice, not a model requirement. Duplicate one row per file and have a product owner approve the final selection.
Filename | Evidence it provides | Select when | Reject when |
|---|---|---|---|
product-front.jpg | Silhouette, front label, main colors | Complete product is visible and square to camera | Glare, hands, or props cover the label |
product-left-45.jpg | Depth, side profile, closure shape | Perspective looks natural and the whole item remains in frame | Wide-angle distortion changes proportions |
product-back.jpg | Rear label, seams, rear components | Back features may appear in the output | Required areas are blurred or obsolete |
product-detail.jpg | Texture, embossing, hardware, small marks | The critical detail is sharp and evenly lit | Reflections or compression hide its form |
Alongside the filenames, record:
Approved product name and variant
Material and finish, such as matte plastic or brushed metal
Dominant and secondary colors, using approved brand references where available
Logo and label placement
Components that must not be added, removed, duplicated, or recolored
Features that may be hidden by the requested camera angle
Packaging text that must be checked against authoritative artwork
Keep label artwork as the source of truth for wording. A photograph may help communicate placement, but it should not replace the approved packaging file during review.
Write an input brief around non-negotiable details
A useful brief separates the desired scene from the product constraints. Describe the composition first, then list the details that must survive generation and the changes that are not allowed.
Avoid asking for “perfect fidelity.” Instead, name observable features: “silver screw cap,” “one embossed star,” or “white rectangular label centered on the front.” Specific constraints are easier for a reviewer to evaluate.
Illustrative example: fictional Aurora bottle
This is a hypothetical recipe, not a tested customer case.
aurora-bottle-front.jpg: unobstructed straight-on view of the complete blue cylindrical bottle against neutral gray.
aurora-bottle-left-45.jpg: complete bottle showing cylindrical depth, shoulder shape, and silver cap profile.
aurora-bottle-back.jpg: rear view showing the back-label position and vertical seam.
aurora-bottle-detail-cap.jpg: sharp close view of one fictional embossed star on the cap.
Copyable example input brief: Create a landscape lifestyle photograph of the referenced Aurora bottle on a pale stone counter in soft window light. Preserve the blue cylindrical bottle, silver cap, white front-label rectangle, and single embossed star. Keep the bottle fully visible and unobstructed. Do not add handles, pumps, extra labels, flavors, accessories, or promotional text. Treat all rendered label text as provisional and subject to human review.
The requested output is one landscape lifestyle image. The references define the product, while the brief defines the new setting and the limits of acceptable change.
Review every output against explicit acceptance checks
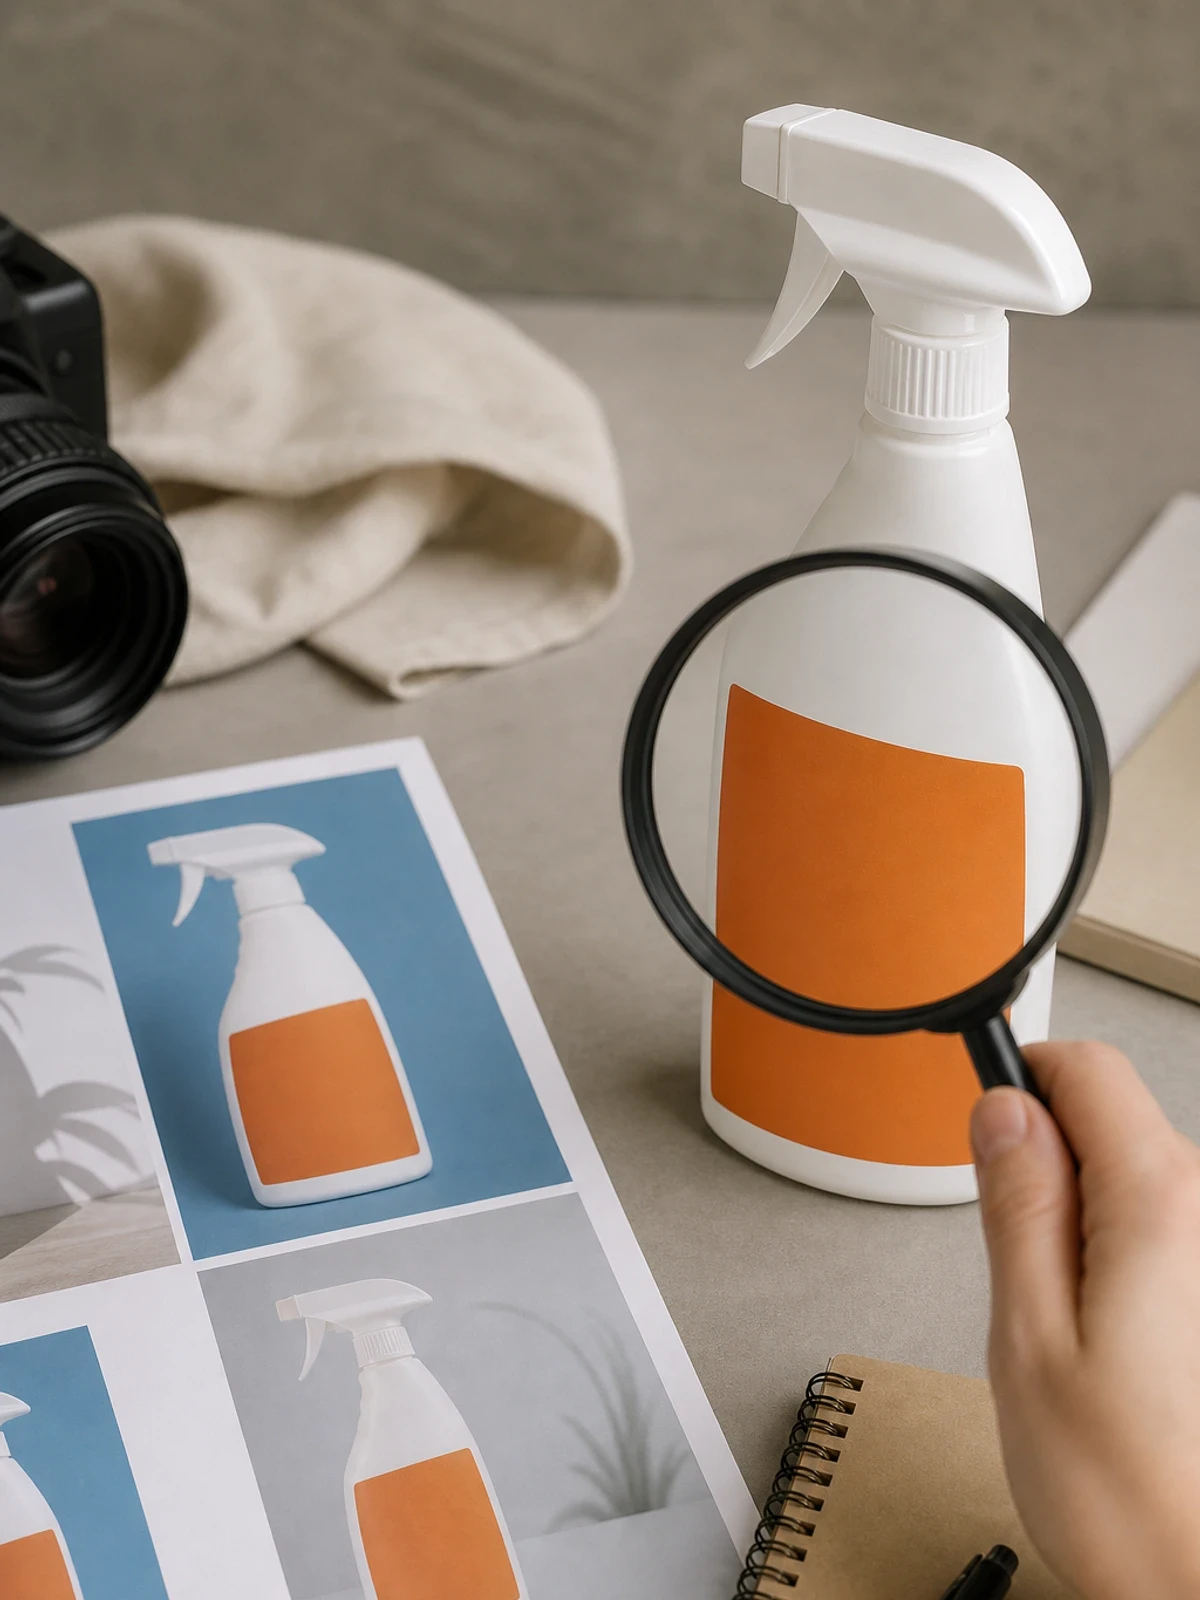
Do not approve an output because it looks polished. Compare it with the selected references at a useful zoom level and check each constraint independently.
Unobstructed product: Is the full product visible as requested?
Useful source angles: Can the visible geometry be verified against at least one relevant reference?
Clear details: Are closure, label position, materials, colors, and distinctive marks consistent?
No invented components: Has the model added pumps, handles, seams, labels, accessories, or decorations?
Text review: Does every visible word match approved artwork? If not, reject or replace it in a controlled finishing step.
Variant review: Does the output show the correct size, color, flavor, and packaging version?
For the Aurora example, accept an image if the bottle is unobstructed and its blue body, silver cap, label position, silhouette, and single-star detail match the references. Reject it if the star is duplicated, the cap becomes gold, the label moves, proportions change materially, or generated wording differs from approved artwork.
Build preparation and review into the workflow
Kubflow connects text, image, video, and audio models on a visual workflow canvas. A team can supply a product reference image, connect it to generation steps, write prompts, and rerun the workflow.
A practical setup is to keep approved references and the input brief together, generate a small review batch, and route selected images to human review before any later image-to-video step. The same product checklist should follow the asset downstream. For that next stage, see the AI image-to-video product launch workflow.
Generation can still alter labels, shapes, colors, or product details. Neither a strong reference set nor a detailed prompt guarantees fidelity. Human review remains mandatory for every customer-facing asset.
If you are ready to make this process repeatable, build your product reference workflow in Kubflow and start with the selection sheet above.



Learn how ecommerce teams can select product reference photos, write a precise input brief, and review AI-generated creative for errors.
To prepare product reference photos for AI, choose a small set of unobstructed views that collectively show the product’s shape, components, colors, labels, and important details. Pair those images with a written brief that states what must remain accurate, then require a human to compare every generated output with the approved source material.
A technically accepted file is not necessarily a useful reference. Your goal is to remove ambiguity before an image or video generation step begins.
Check the model’s documented input rules first
Before selecting photos, identify the exact model and endpoint your workflow will use. Check its official documentation for supported formats, file-size limits, image-count limits, dimensions, and any endpoint-specific restrictions.
OpenAI's image generation guide describes reference-image editing and warns that precise text and recurring brand elements can lose consistency. A reference image helps specify the product; it does not guarantee accurate packaging or label copy.
Keep provider documentation beside your input brief, but apply the limits for the exact generation step you selected. OpenAI's image inputs guide covers image analysis; its file requirements should not be assumed to apply to image editing.
For the hypothetical Aurora example below, use OpenAI’s gpt-image-2.5-sunburst editing capability as a provider example. The image-editing reference lists this model and accepts up to 16 reference images supplied through uploaded file IDs, image URLs, or base64 data URLs. The four-photo selection below fits that documented image-count limit. The retrieved endpoint reference does not establish a complete input file-format and byte-size specification; verify those requirements before uploading. These provider capabilities do not establish which controls or models your Kubflow account exposes.
How to prepare product reference photos for AI
Start with a clean front view. Show the complete product straight on, with no hands, props, leaves, packaging, or shadows covering important areas.
Add an angle that explains depth. A left or right 45-degree view often clarifies the side profile, thickness, cap shape, seams, and construction.
Add a rear view only when it matters. Include it if the back has a label, closure, port, pattern, seam, or other feature likely to appear in the requested scene.
Photograph critical details separately. Use a close view for embossing, textures, unusual closures, hardware, stitching, or small marks that cannot be judged in the full-product image.
Remove weak and conflicting references. Reject blurry, heavily compressed, dark, cluttered, cropped, color-shifted, or outdated photos. Do not mix old and current packaging without explaining the difference.
Clear, well-lit references with good contrast are a sensible starting point. Runware specifically recommends those qualities in its documented IP-Adapter workflow and warns that dark, noisy, or cluttered images provide weaker conditioning. That guidance does not establish how OpenAI’s model behaves, but it supports a useful general production habit.
Use a reference-photo selection sheet
The following sheet is Kubflow’s suggested practice, not a model requirement. Duplicate one row per file and have a product owner approve the final selection.
Filename | Evidence it provides | Select when | Reject when |
|---|---|---|---|
product-front.jpg | Silhouette, front label, main colors | Complete product is visible and square to camera | Glare, hands, or props cover the label |
product-left-45.jpg | Depth, side profile, closure shape | Perspective looks natural and the whole item remains in frame | Wide-angle distortion changes proportions |
product-back.jpg | Rear label, seams, rear components | Back features may appear in the output | Required areas are blurred or obsolete |
product-detail.jpg | Texture, embossing, hardware, small marks | The critical detail is sharp and evenly lit | Reflections or compression hide its form |
Alongside the filenames, record:
Approved product name and variant
Material and finish, such as matte plastic or brushed metal
Dominant and secondary colors, using approved brand references where available
Logo and label placement
Components that must not be added, removed, duplicated, or recolored
Features that may be hidden by the requested camera angle
Packaging text that must be checked against authoritative artwork
Keep label artwork as the source of truth for wording. A photograph may help communicate placement, but it should not replace the approved packaging file during review.
Write an input brief around non-negotiable details
A useful brief separates the desired scene from the product constraints. Describe the composition first, then list the details that must survive generation and the changes that are not allowed.
Avoid asking for “perfect fidelity.” Instead, name observable features: “silver screw cap,” “one embossed star,” or “white rectangular label centered on the front.” Specific constraints are easier for a reviewer to evaluate.
Illustrative example: fictional Aurora bottle
This is a hypothetical recipe, not a tested customer case.
aurora-bottle-front.jpg: unobstructed straight-on view of the complete blue cylindrical bottle against neutral gray.
aurora-bottle-left-45.jpg: complete bottle showing cylindrical depth, shoulder shape, and silver cap profile.
aurora-bottle-back.jpg: rear view showing the back-label position and vertical seam.
aurora-bottle-detail-cap.jpg: sharp close view of one fictional embossed star on the cap.
Copyable example input brief: Create a landscape lifestyle photograph of the referenced Aurora bottle on a pale stone counter in soft window light. Preserve the blue cylindrical bottle, silver cap, white front-label rectangle, and single embossed star. Keep the bottle fully visible and unobstructed. Do not add handles, pumps, extra labels, flavors, accessories, or promotional text. Treat all rendered label text as provisional and subject to human review.
The requested output is one landscape lifestyle image. The references define the product, while the brief defines the new setting and the limits of acceptable change.
Review every output against explicit acceptance checks
Do not approve an output because it looks polished. Compare it with the selected references at a useful zoom level and check each constraint independently.
Unobstructed product: Is the full product visible as requested?
Useful source angles: Can the visible geometry be verified against at least one relevant reference?
Clear details: Are closure, label position, materials, colors, and distinctive marks consistent?
No invented components: Has the model added pumps, handles, seams, labels, accessories, or decorations?
Text review: Does every visible word match approved artwork? If not, reject or replace it in a controlled finishing step.
Variant review: Does the output show the correct size, color, flavor, and packaging version?
For the Aurora example, accept an image if the bottle is unobstructed and its blue body, silver cap, label position, silhouette, and single-star detail match the references. Reject it if the star is duplicated, the cap becomes gold, the label moves, proportions change materially, or generated wording differs from approved artwork.
Build preparation and review into the workflow
Kubflow connects text, image, video, and audio models on a visual workflow canvas. A team can supply a product reference image, connect it to generation steps, write prompts, and rerun the workflow.
A practical setup is to keep approved references and the input brief together, generate a small review batch, and route selected images to human review before any later image-to-video step. The same product checklist should follow the asset downstream. For that next stage, see the AI image-to-video product launch workflow.
Generation can still alter labels, shapes, colors, or product details. Neither a strong reference set nor a detailed prompt guarantees fidelity. Human review remains mandatory for every customer-facing asset.
If you are ready to make this process repeatable, build your product reference workflow in Kubflow and start with the selection sheet above.